Holiday


Try these creative tips for more impact on your holiday tree this year!

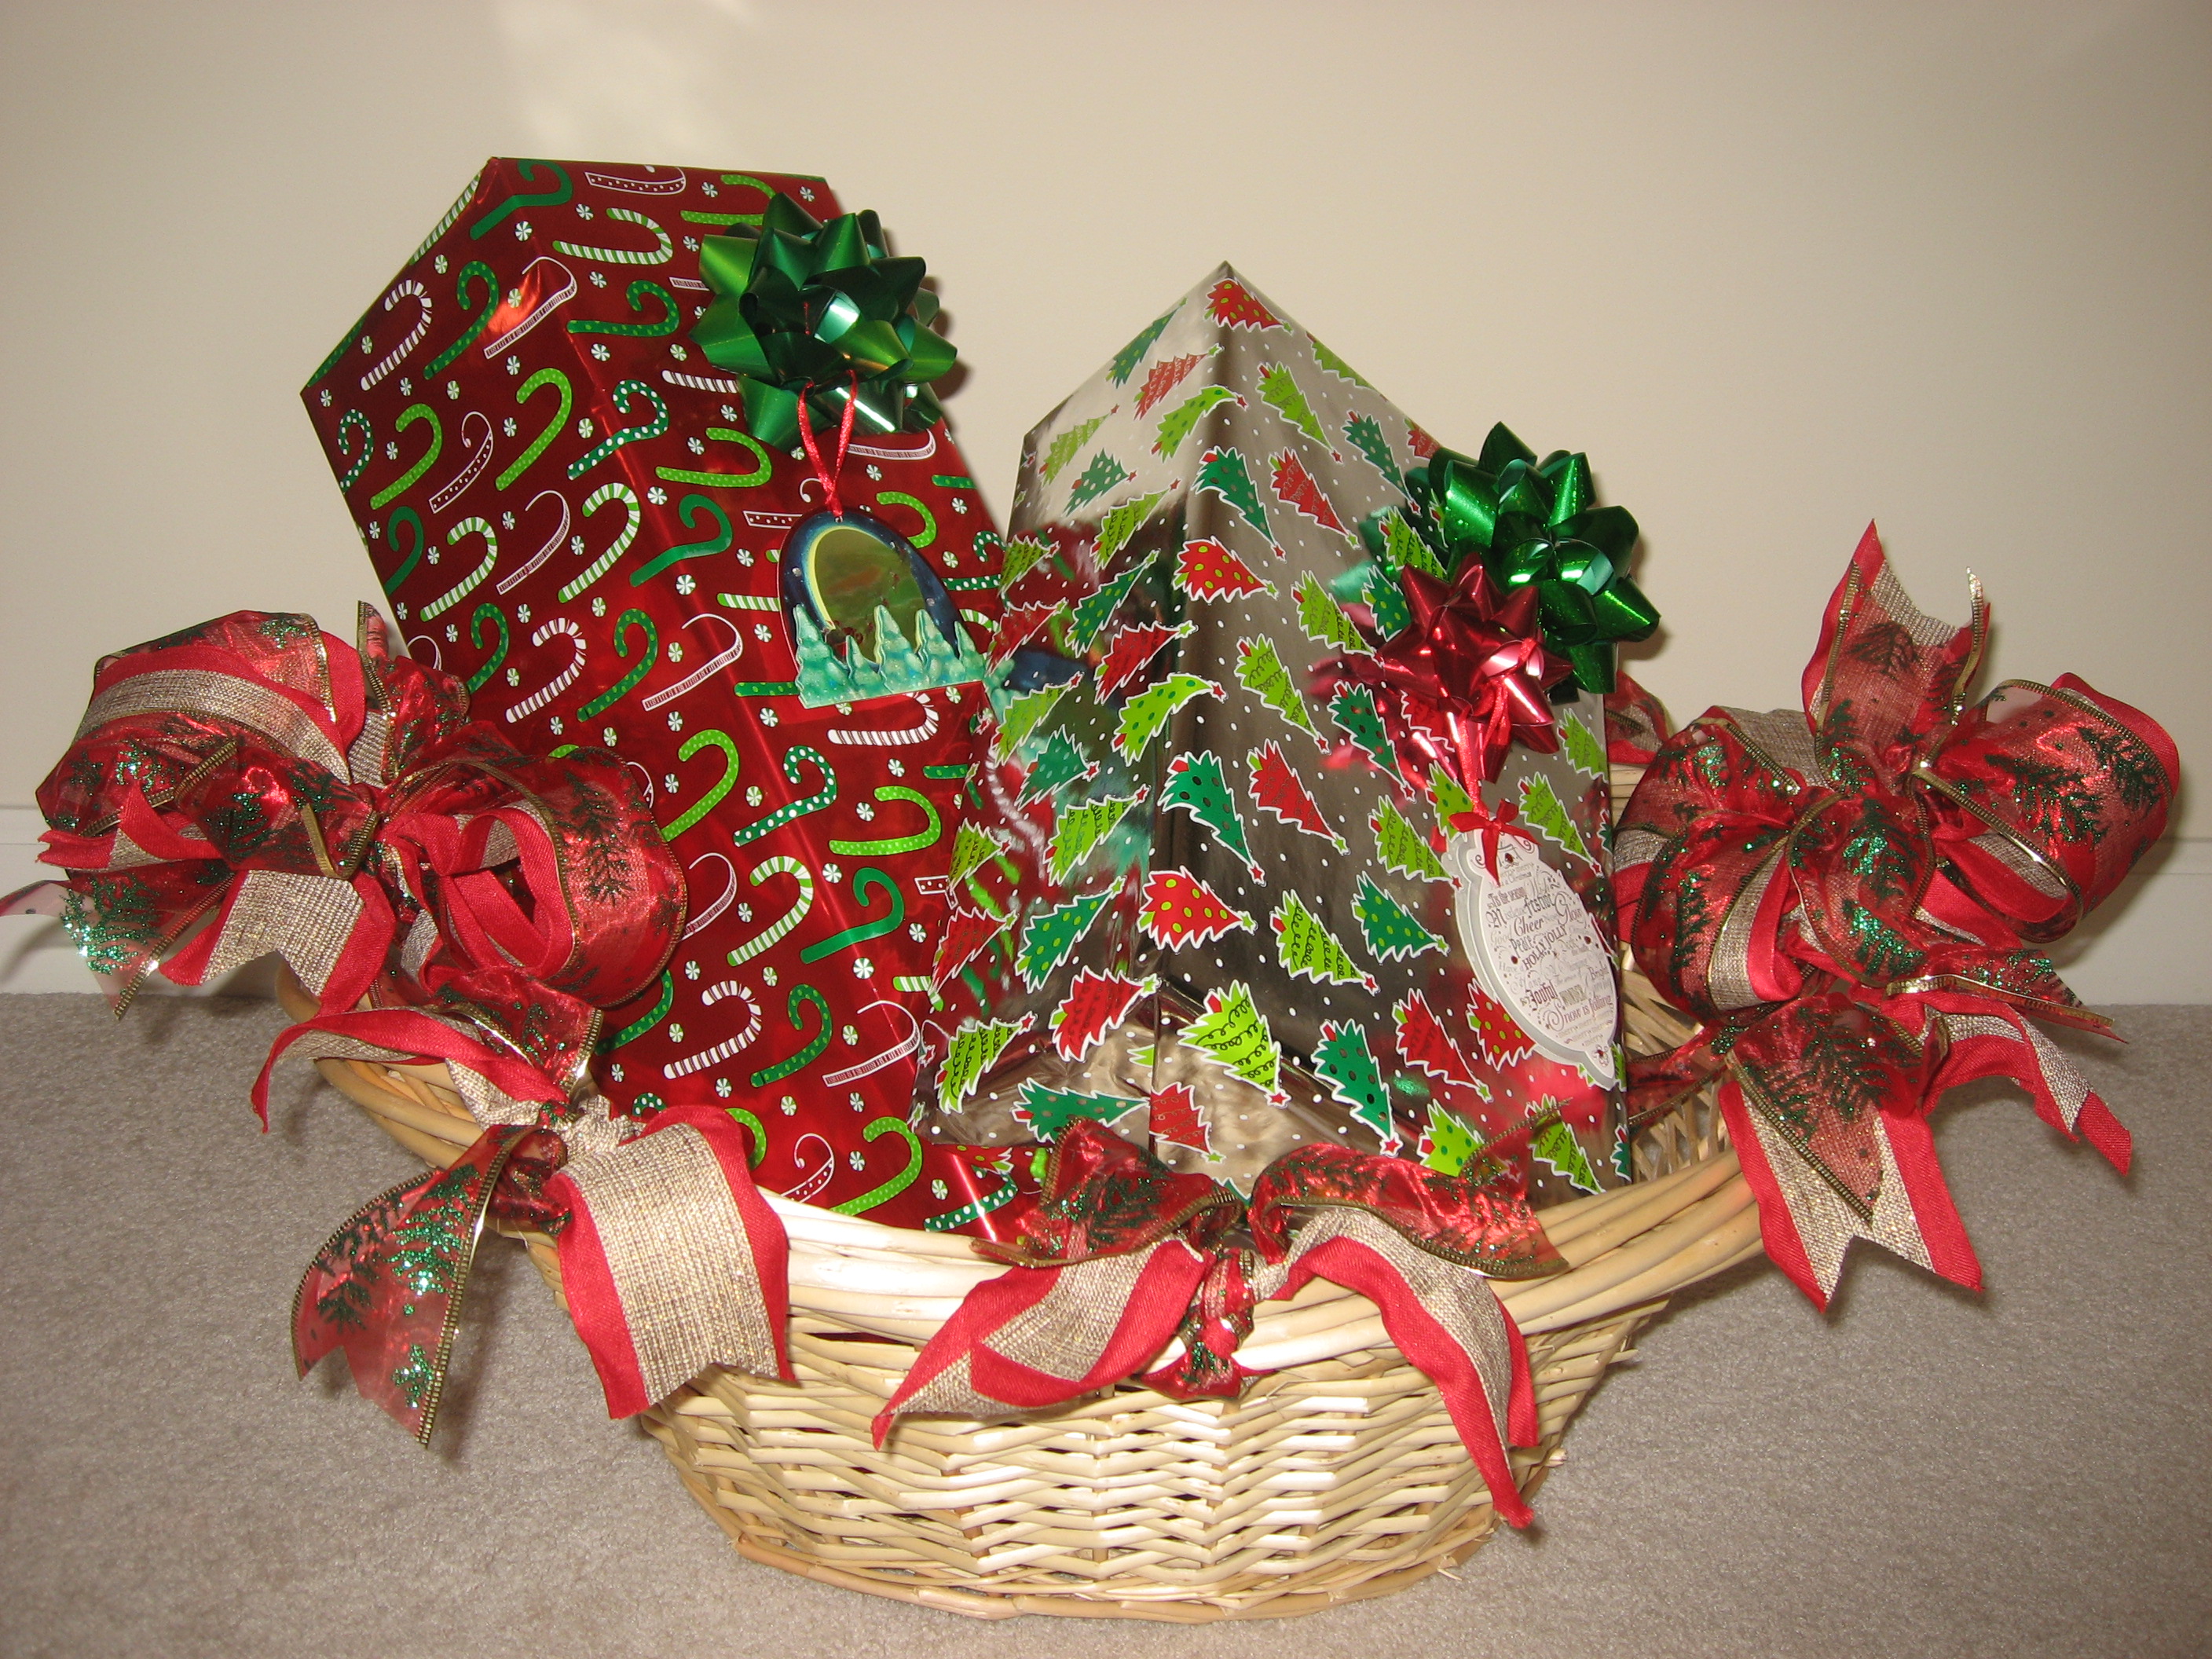
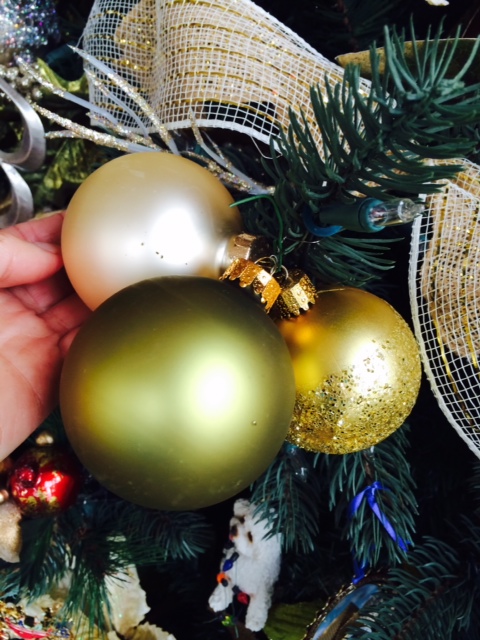
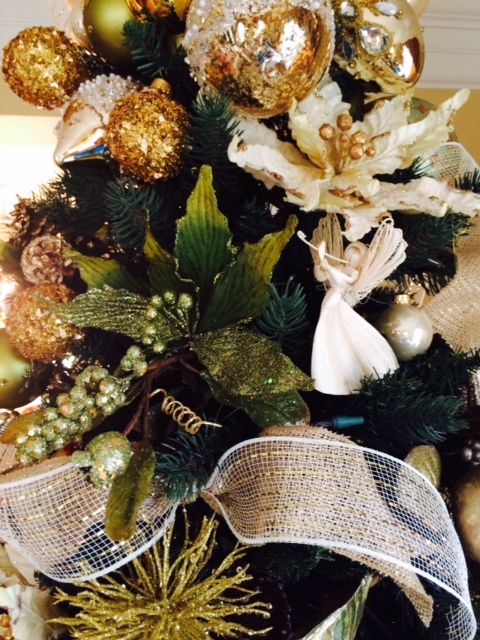
# 1. “Cluster” ornaments that are similar in size with floral wire and secure
onto tree branch; repeat process in a triangular pattern on the tree. I generally
use 3 or 5 ornaments.

photo 6

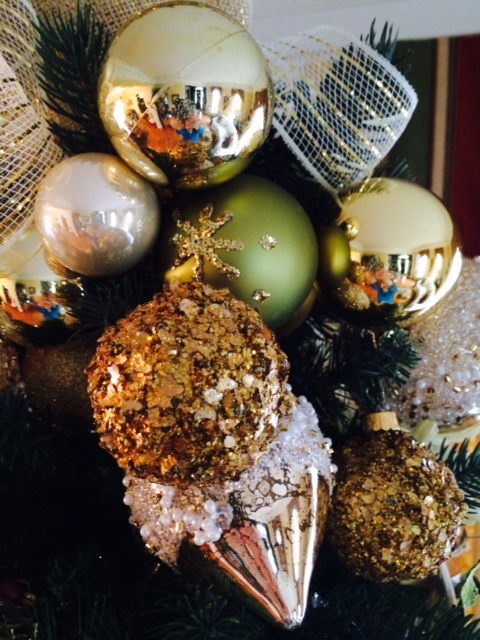
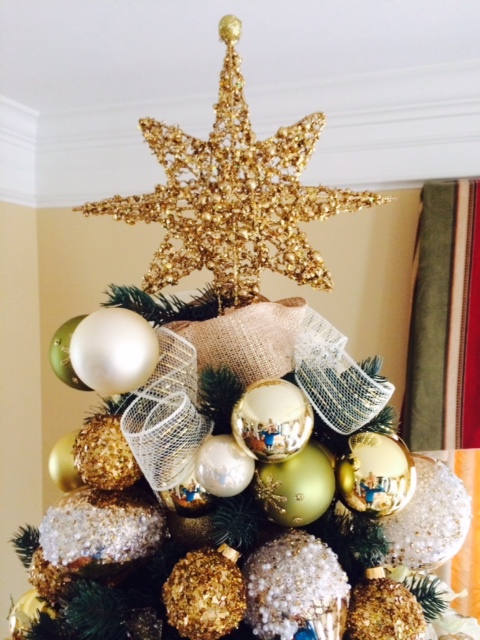
# 2. Amp it up for the top of the tree with a generous amount of clustered
ornaments just under the tree topper.

photo 3

photo 5

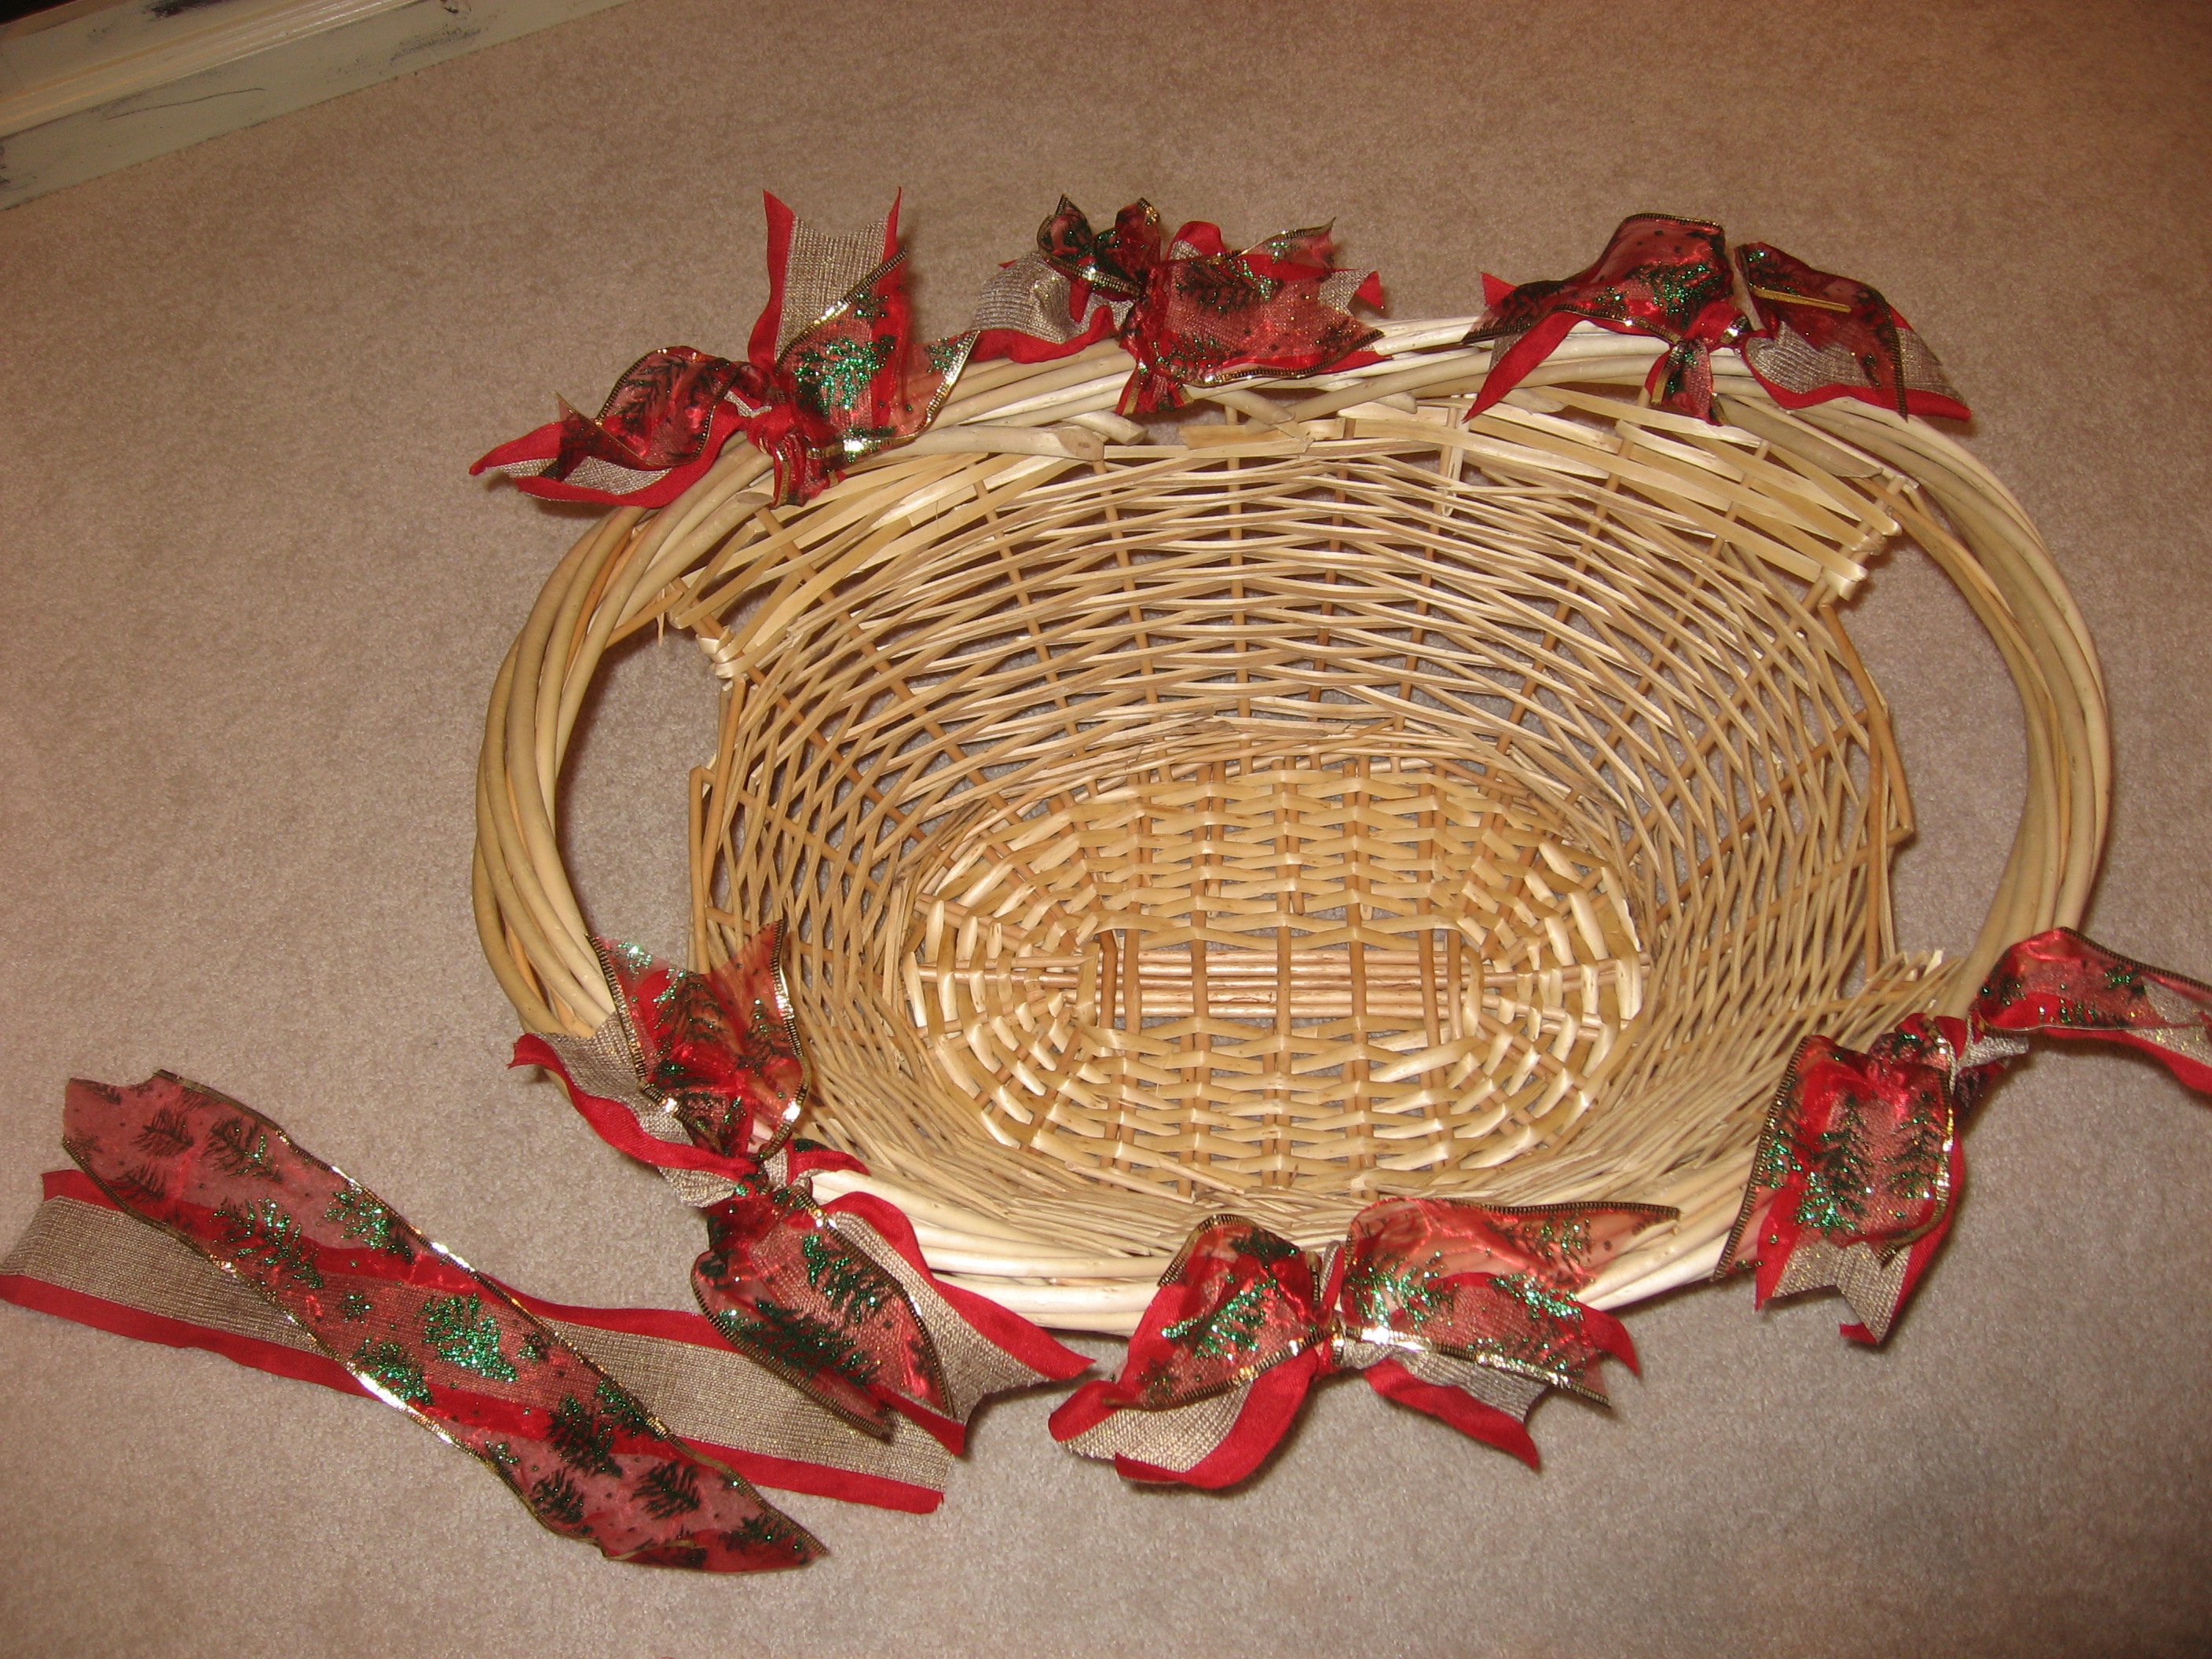
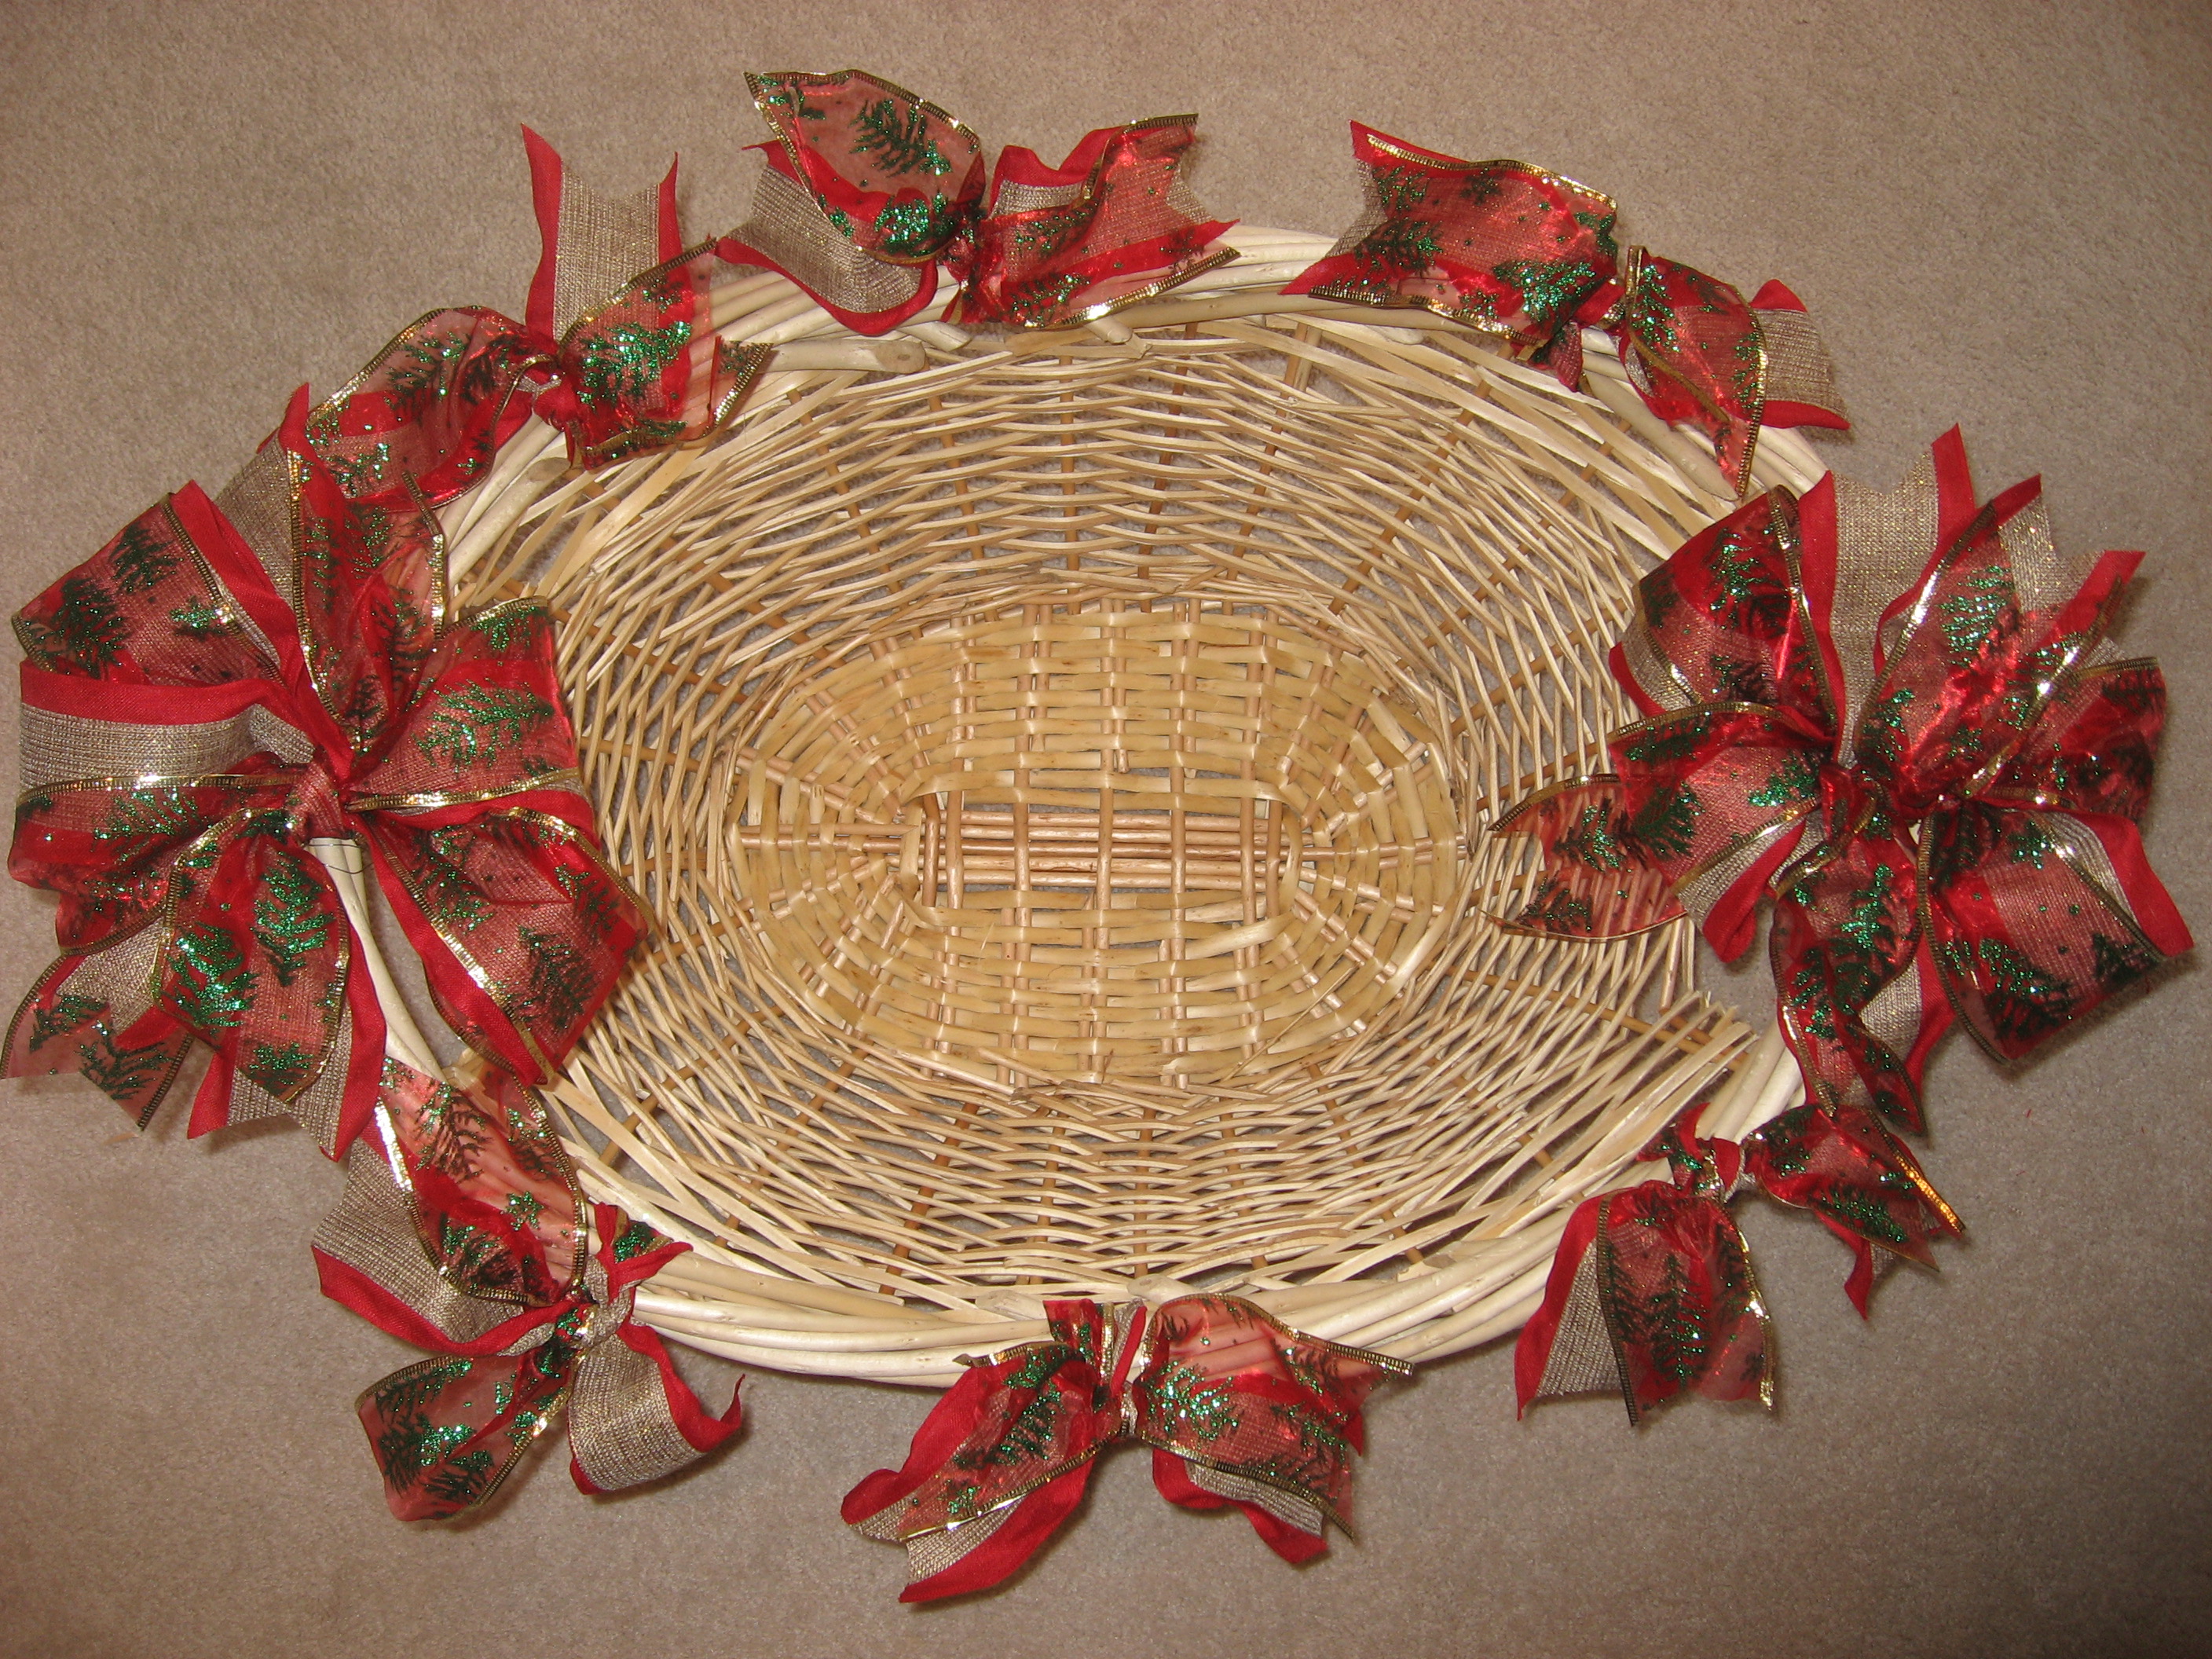
# 3. Cut festive wired ribbon into 15″ pieces. I generally use 2 contrasting
ribbons; 1 solid and 1 patterned. Wrap a small piece of floral wire around the
center of ribbons. Dovetail ends with scissors; tuck into tree and secure. Manipulate
ribbon into branches. Tuck ribbon into places that may need “festive filler.”

photo 4

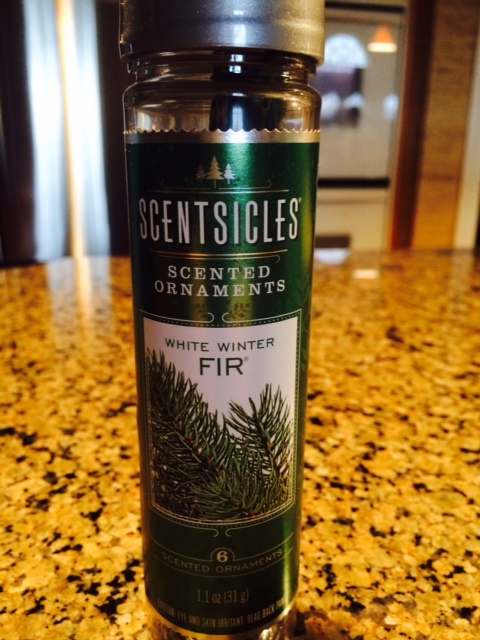
# 4. As a final touch, bring in refreshing pine scent with Scentsicles. Pine scented ornaments that hang on your tree.
They can be tucked into a wreath or into decorative accents for fresh winter pine aroma. They are available at
hardware stores.

photo 2

Happy Holidays!

Taking gifts to family and friends this holiday season is simply pretty in a decorated

basket. Baskets are functional and come in many different sizes and shapes and

can be used for just about any type of storage that’s needed.

This holiday season I decorated plain baskets for a client’s growing home made

pies and jellies business.

The pretty baskets are used to transport and display delicious sweets.

Transforming plain wicker into a festive display item was so easy, that

I was inspired to share with all of you.

After all, you may need a container for a holiday party and a decorated basket

may be just the right touch!


Supplies:

1 Basket

2 Rolls of wired ribbon – 1 patterned, 1 solid

Scissors

Floral Wire

IMG_9724

IMG_9726

Cut 20″ pieces of both ribbon. How many sections

needed will depend on the size of your basket. For this

size basket, I cut 6; 3 for each side.

IMG_9728

Put both ribbons together and feed the ends through

an opening in the weave of the basket rim, not on the

handles. Next, tie ribbons into a knot and trim the ends

into a “v” finish. Manipulate the ribbons into shape.

Repeat the process a few inches away from the tied

ribbon. Continue tying ribbon knots until you are satisfied

with the look.


Making bows for basket handles:

Cut 30″ of both ribbons and put together; create

6″ loops. You should end up with 4 loops. At the

second time around, use wired ribbon to hold

loops in place. If there is additional ribbon left

over once you have 4 loops, then trim endsĀ 

in a “v”. Cut 18″ of both ribbons;

tie into a knot in the center of the formed loops.

Manipulate wired ribbon loops into bow shape.

Wire bow to basket handle with floral wire;

repeat for remaining handle.

IMG_9734

Fill with holiday cheer!

IMG_9737

Thanksgiving Basket View

photo 4


Wrap solid ribbon along rim.

Make a bow using previous directions.

Take the look a little further by

adding a fun holiday decoration to

the bow and secure with floral wire!