Taking gifts to family and friends this holiday season is simply pretty in a decorated

basket. Baskets are functional and come in many different sizes and shapes and

can be used for just about any type of storage that’s needed.

This holiday season I decorated plain baskets for a client’s growing home made

pies and jellies business.

The pretty baskets are used to transport and display delicious sweets.

Transforming plain wicker into a festive display item was so easy, that

I was inspired to share with all of you.

After all, you may need a container for a holiday party and a decorated basket

may be just the right touch!
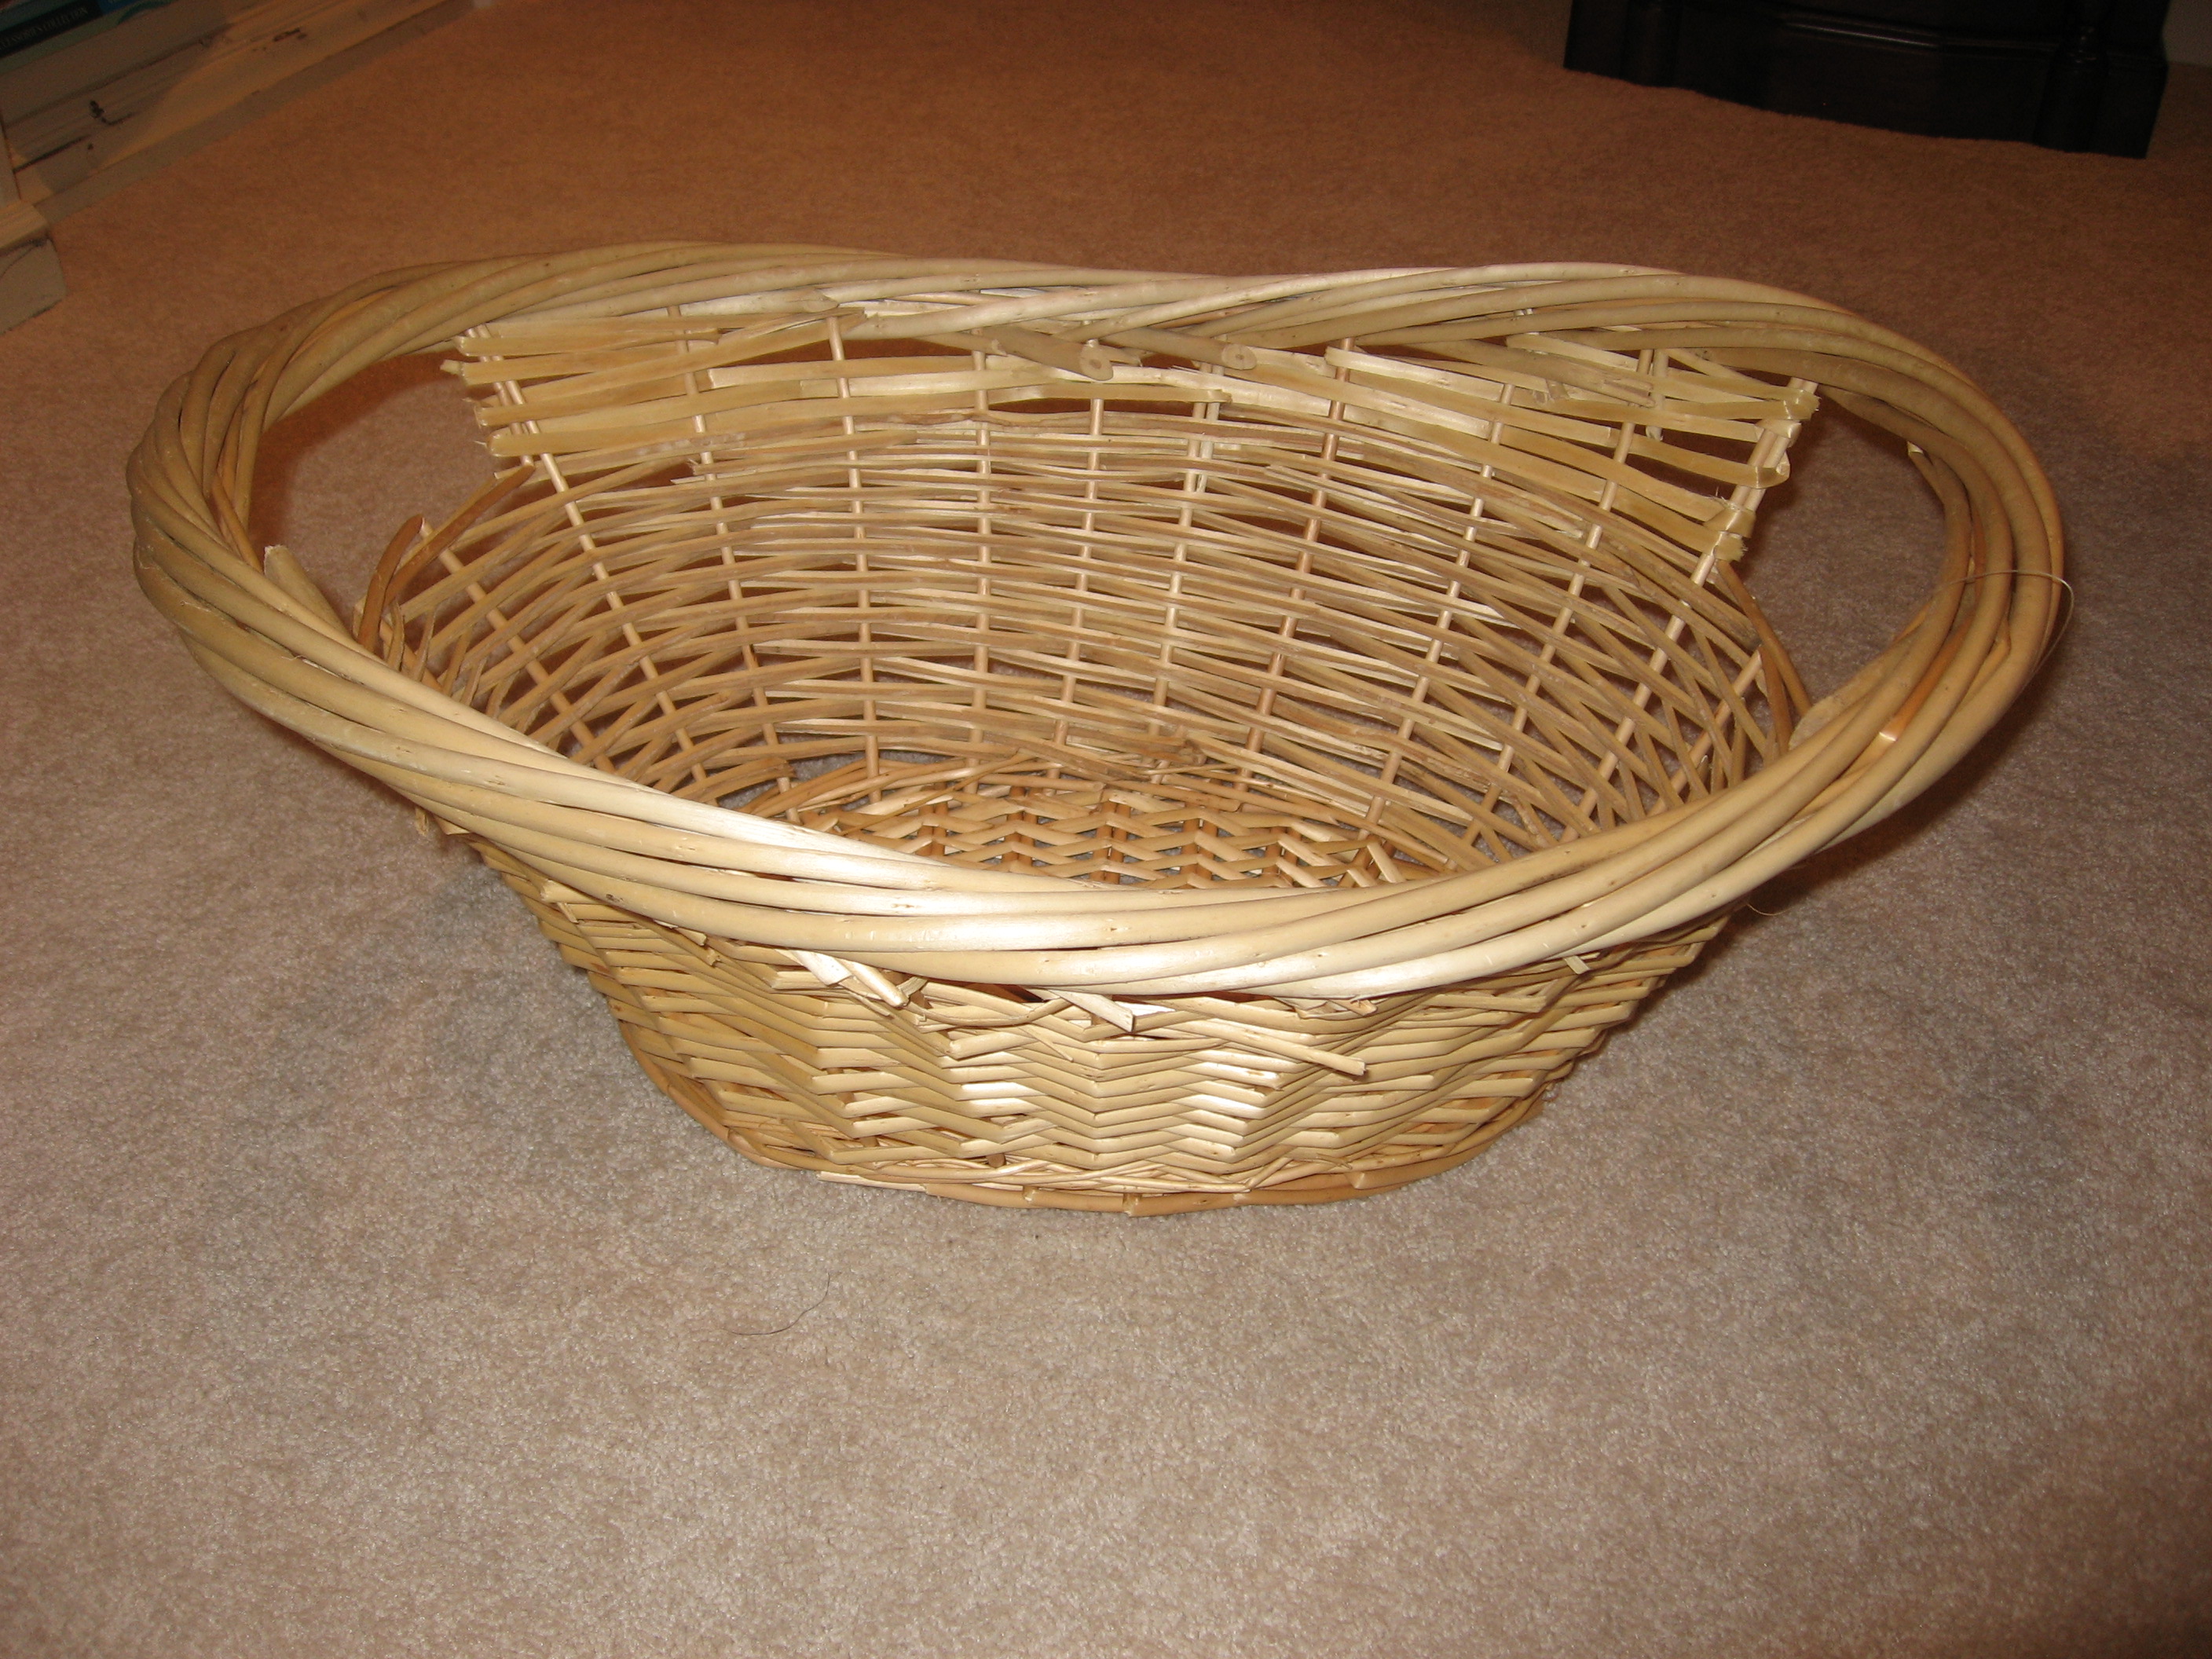
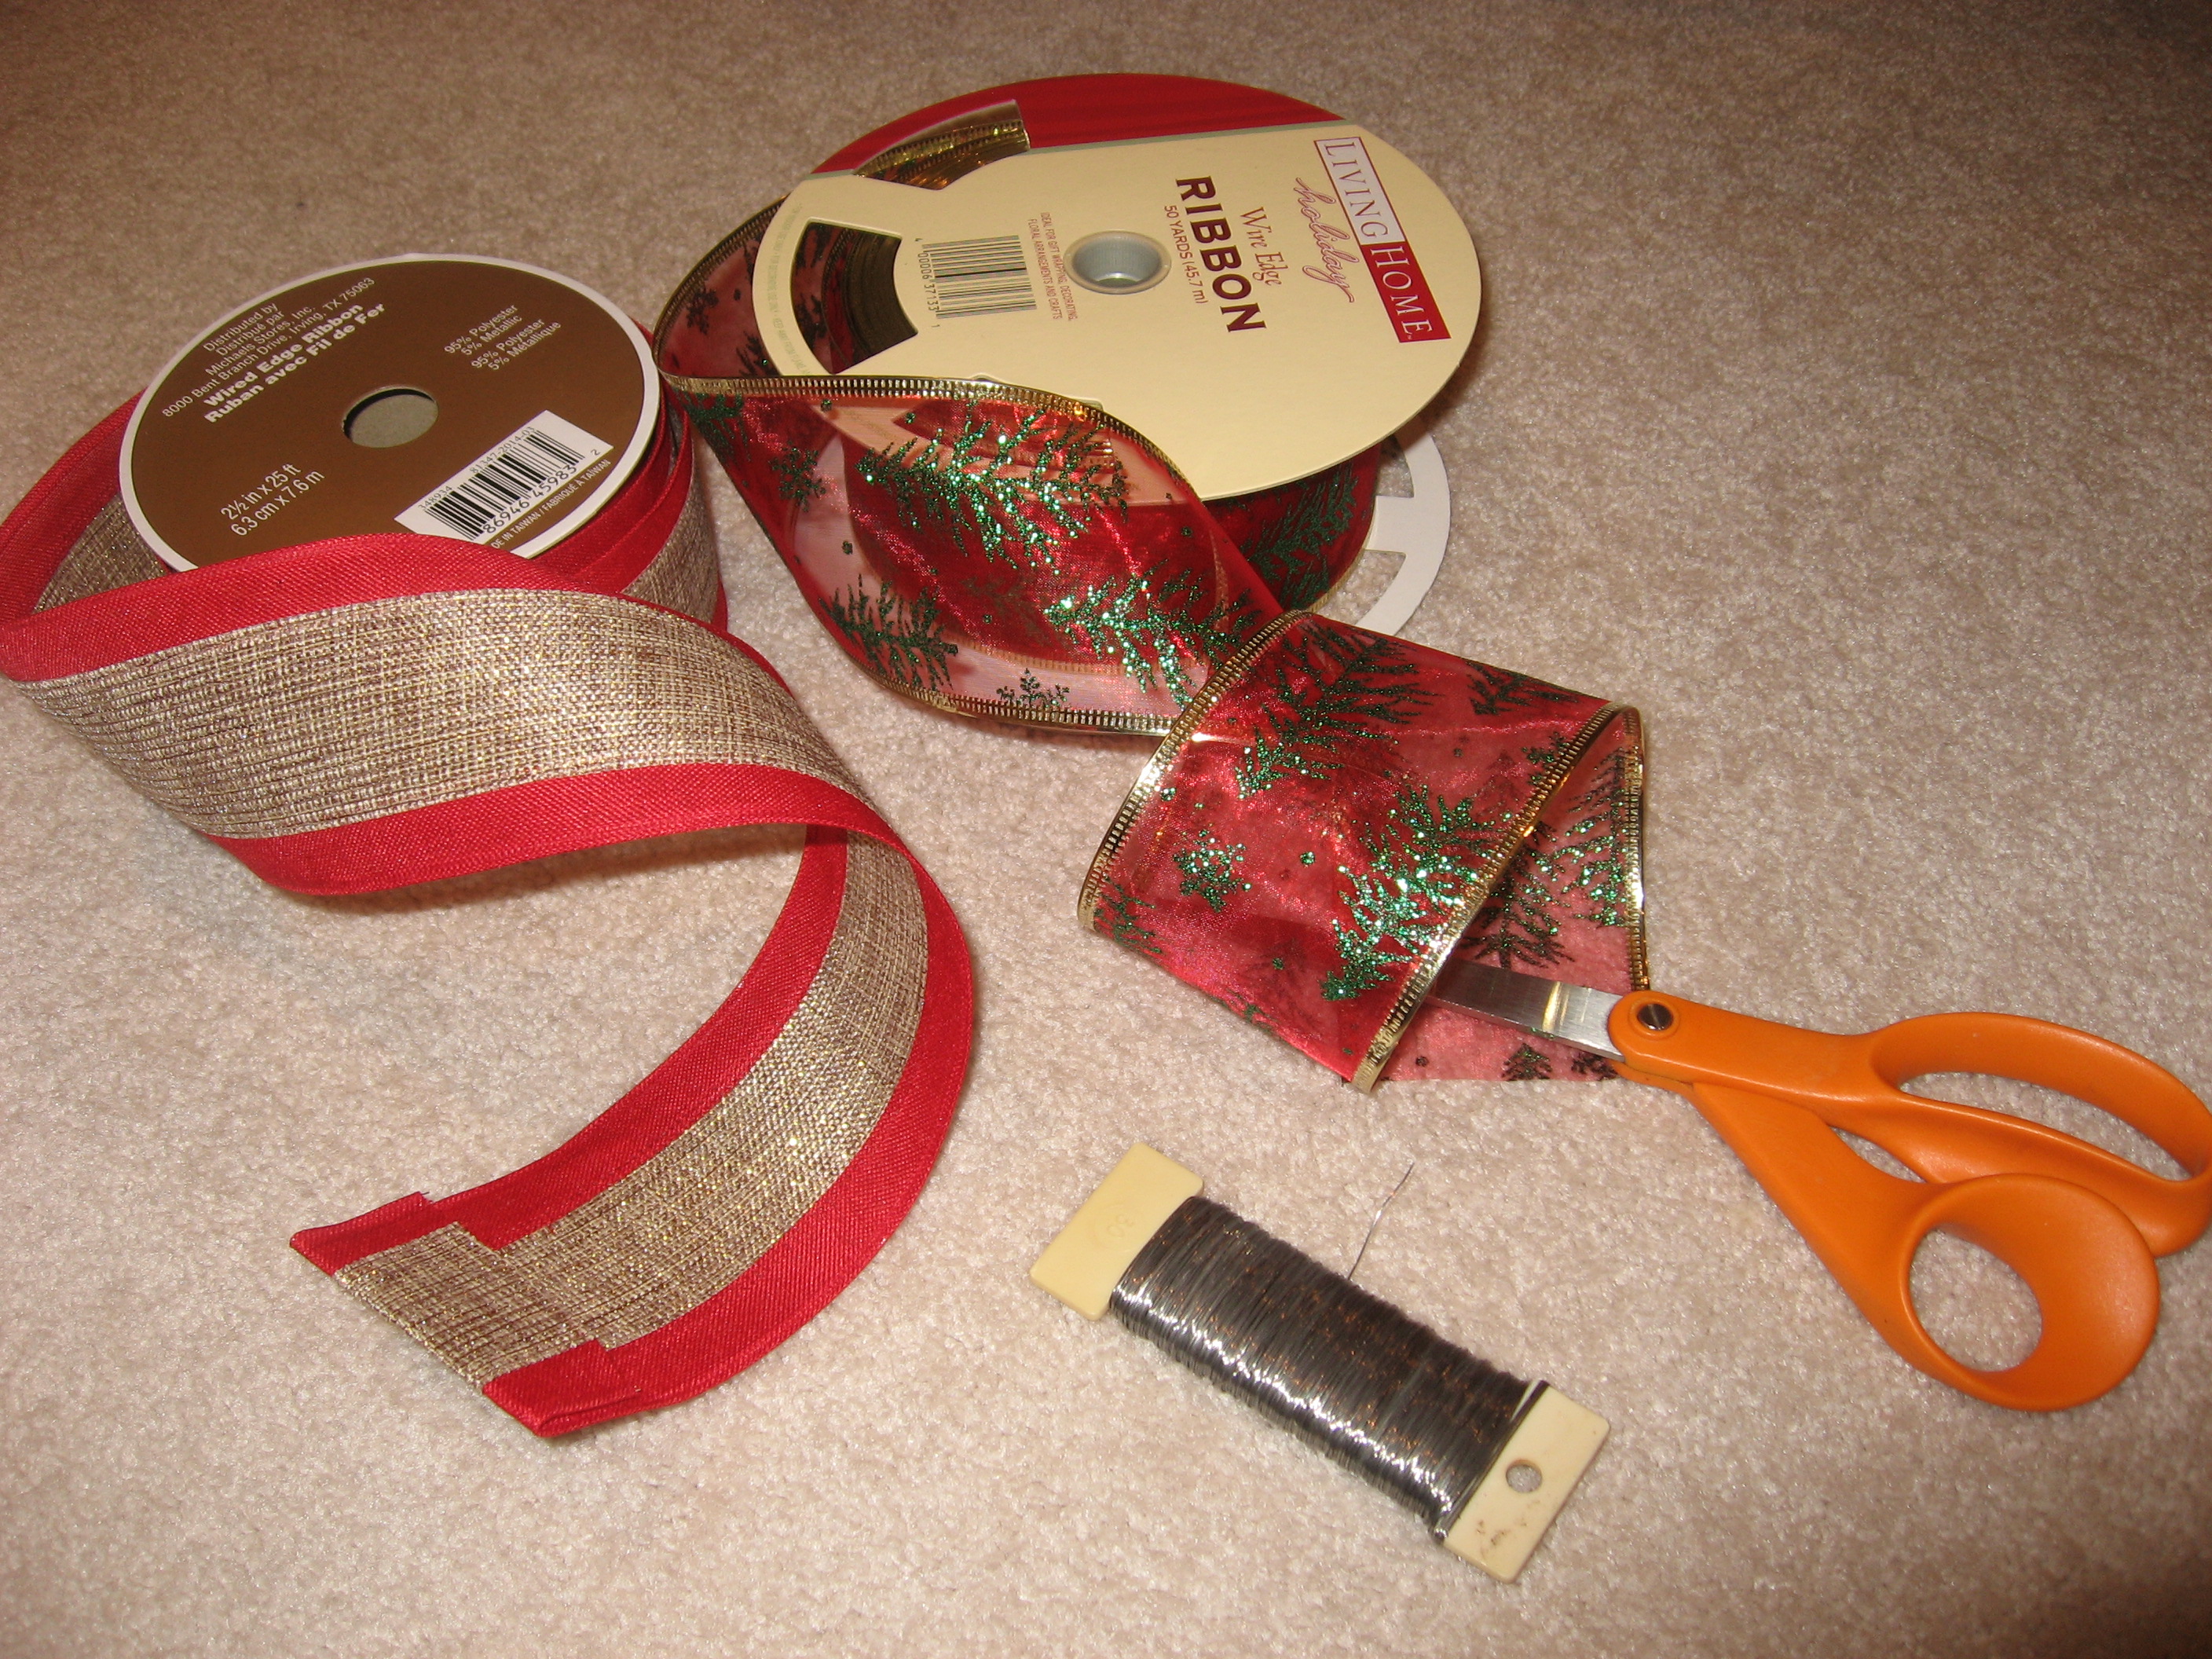
 

Supplies:

1 Basket

2 Rolls of wired ribbon – 1 patterned, 1 solid

Scissors

Floral Wire

IMG_9724

IMG_9726

Cut 20″ pieces of both ribbon. How many sections

needed will depend on the size of your basket. For this

size basket, I cut 6; 3 for each side.

IMG_9728

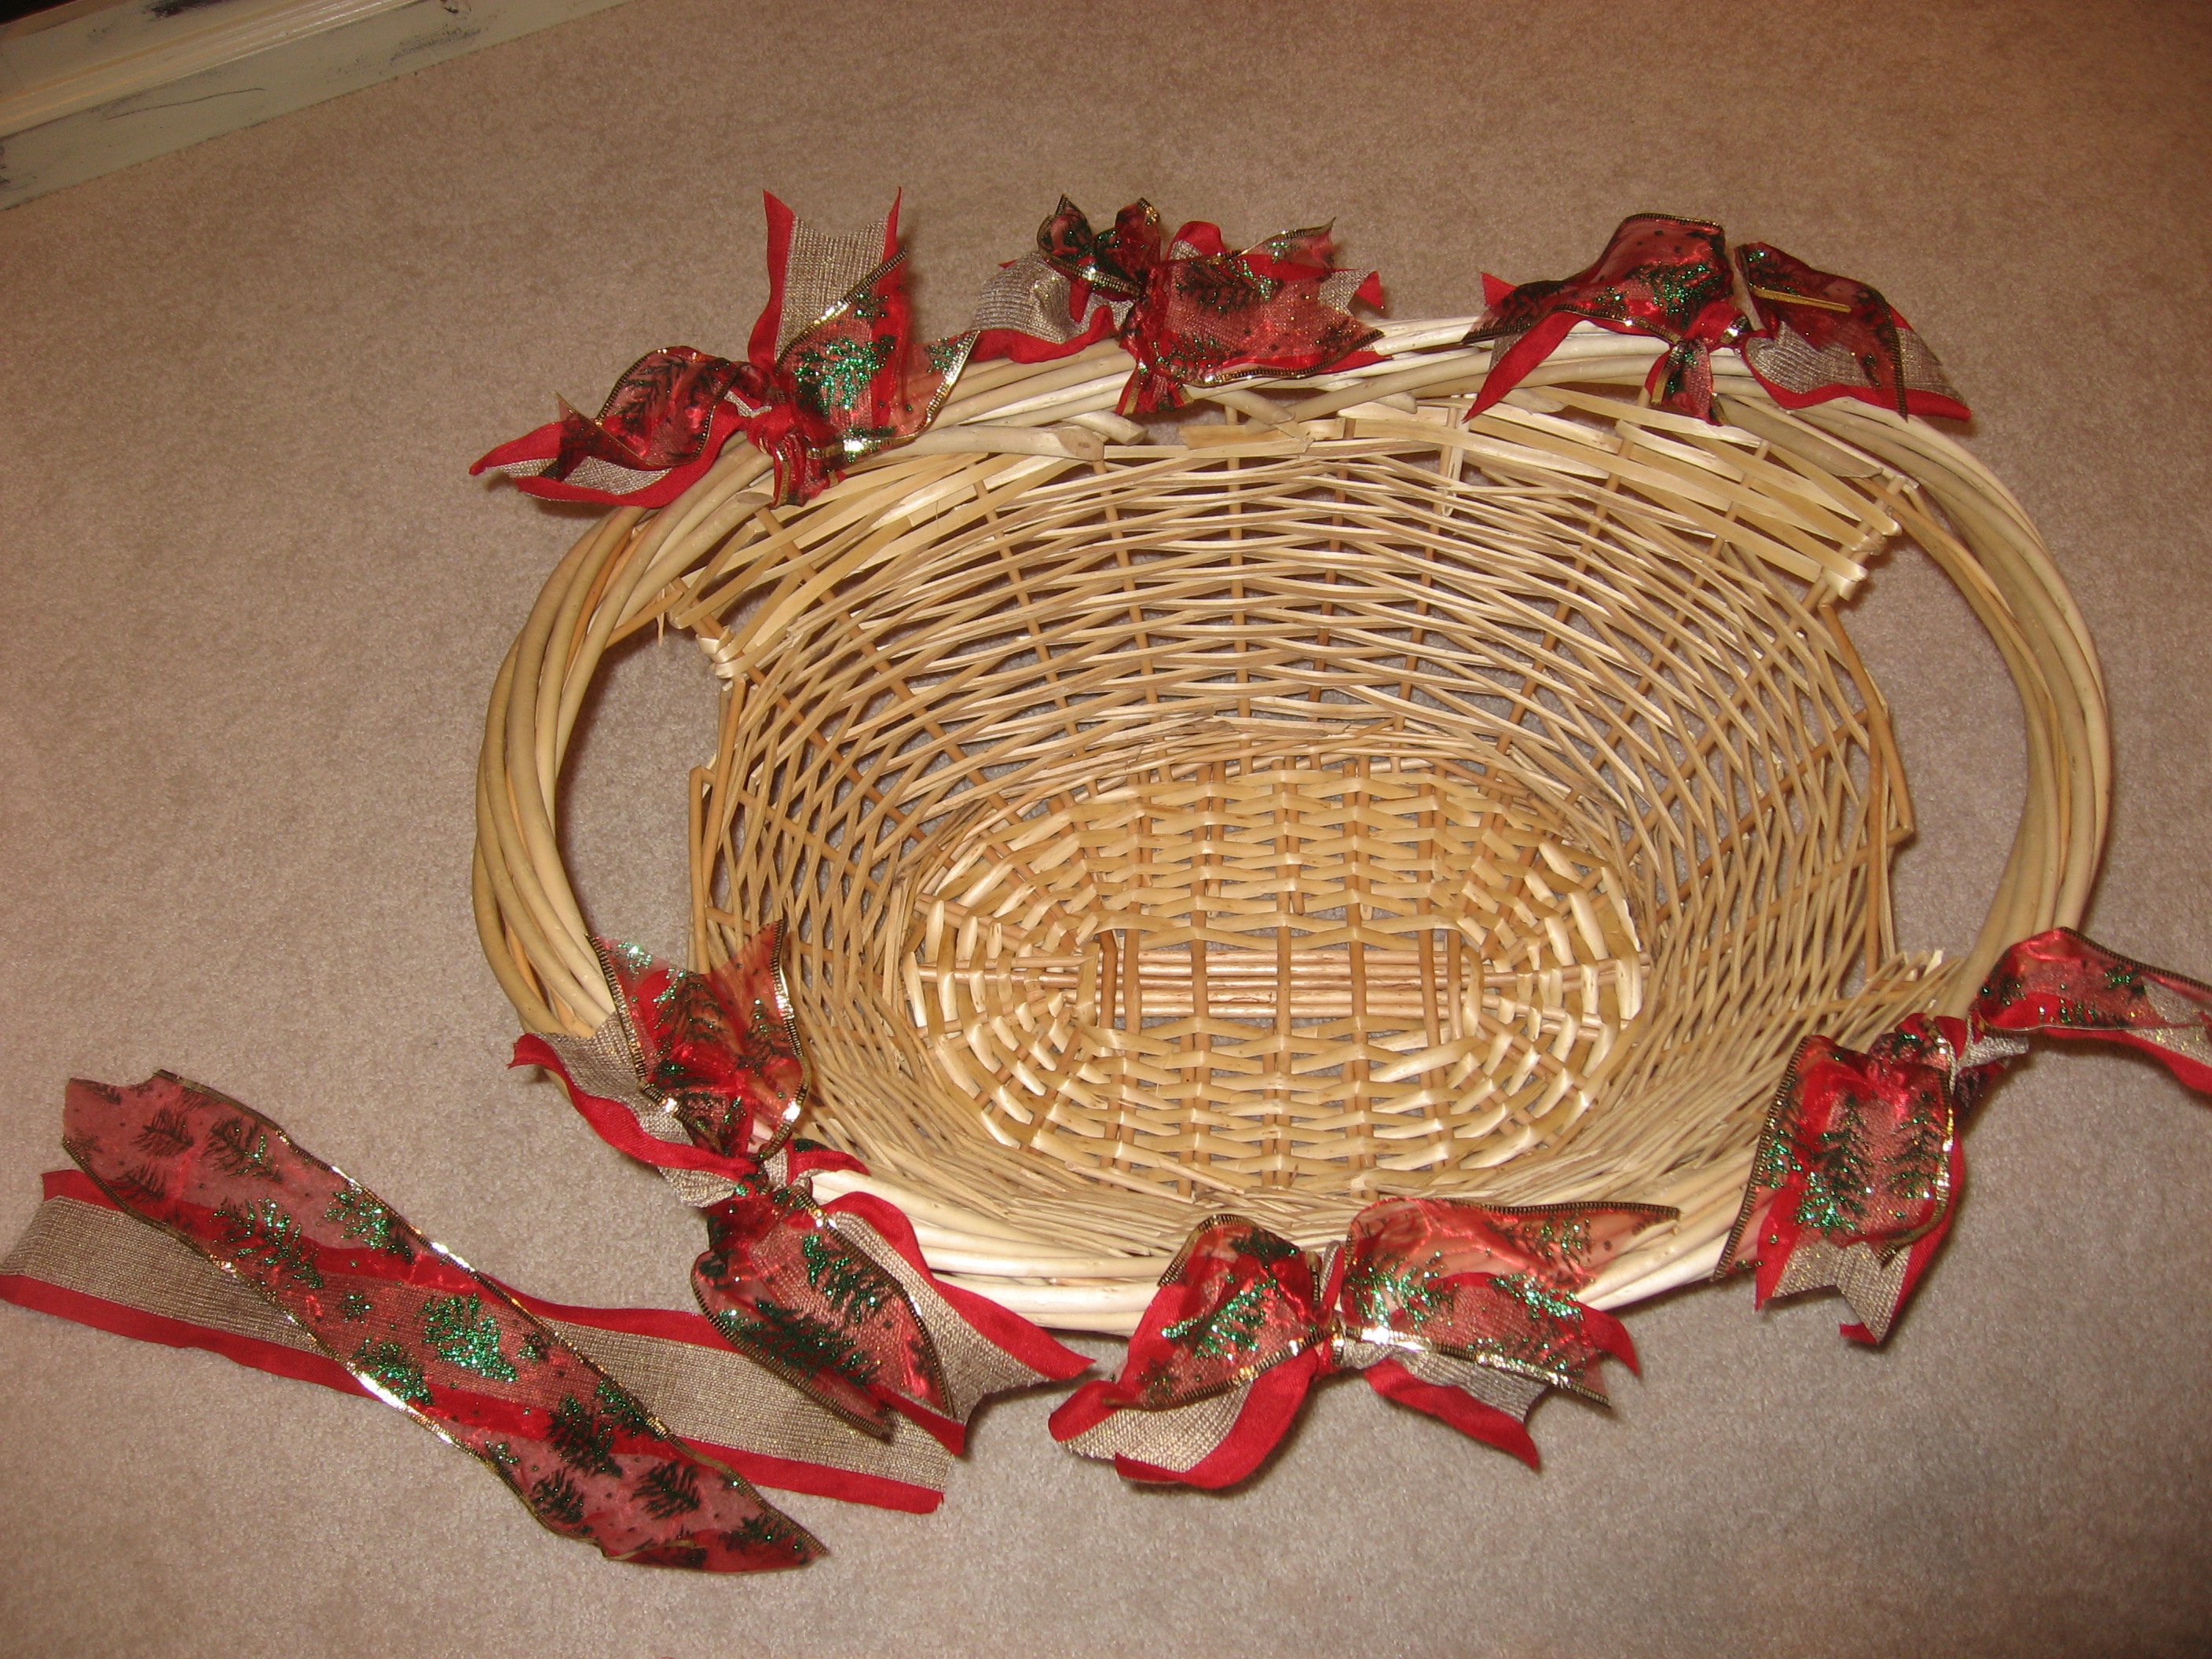
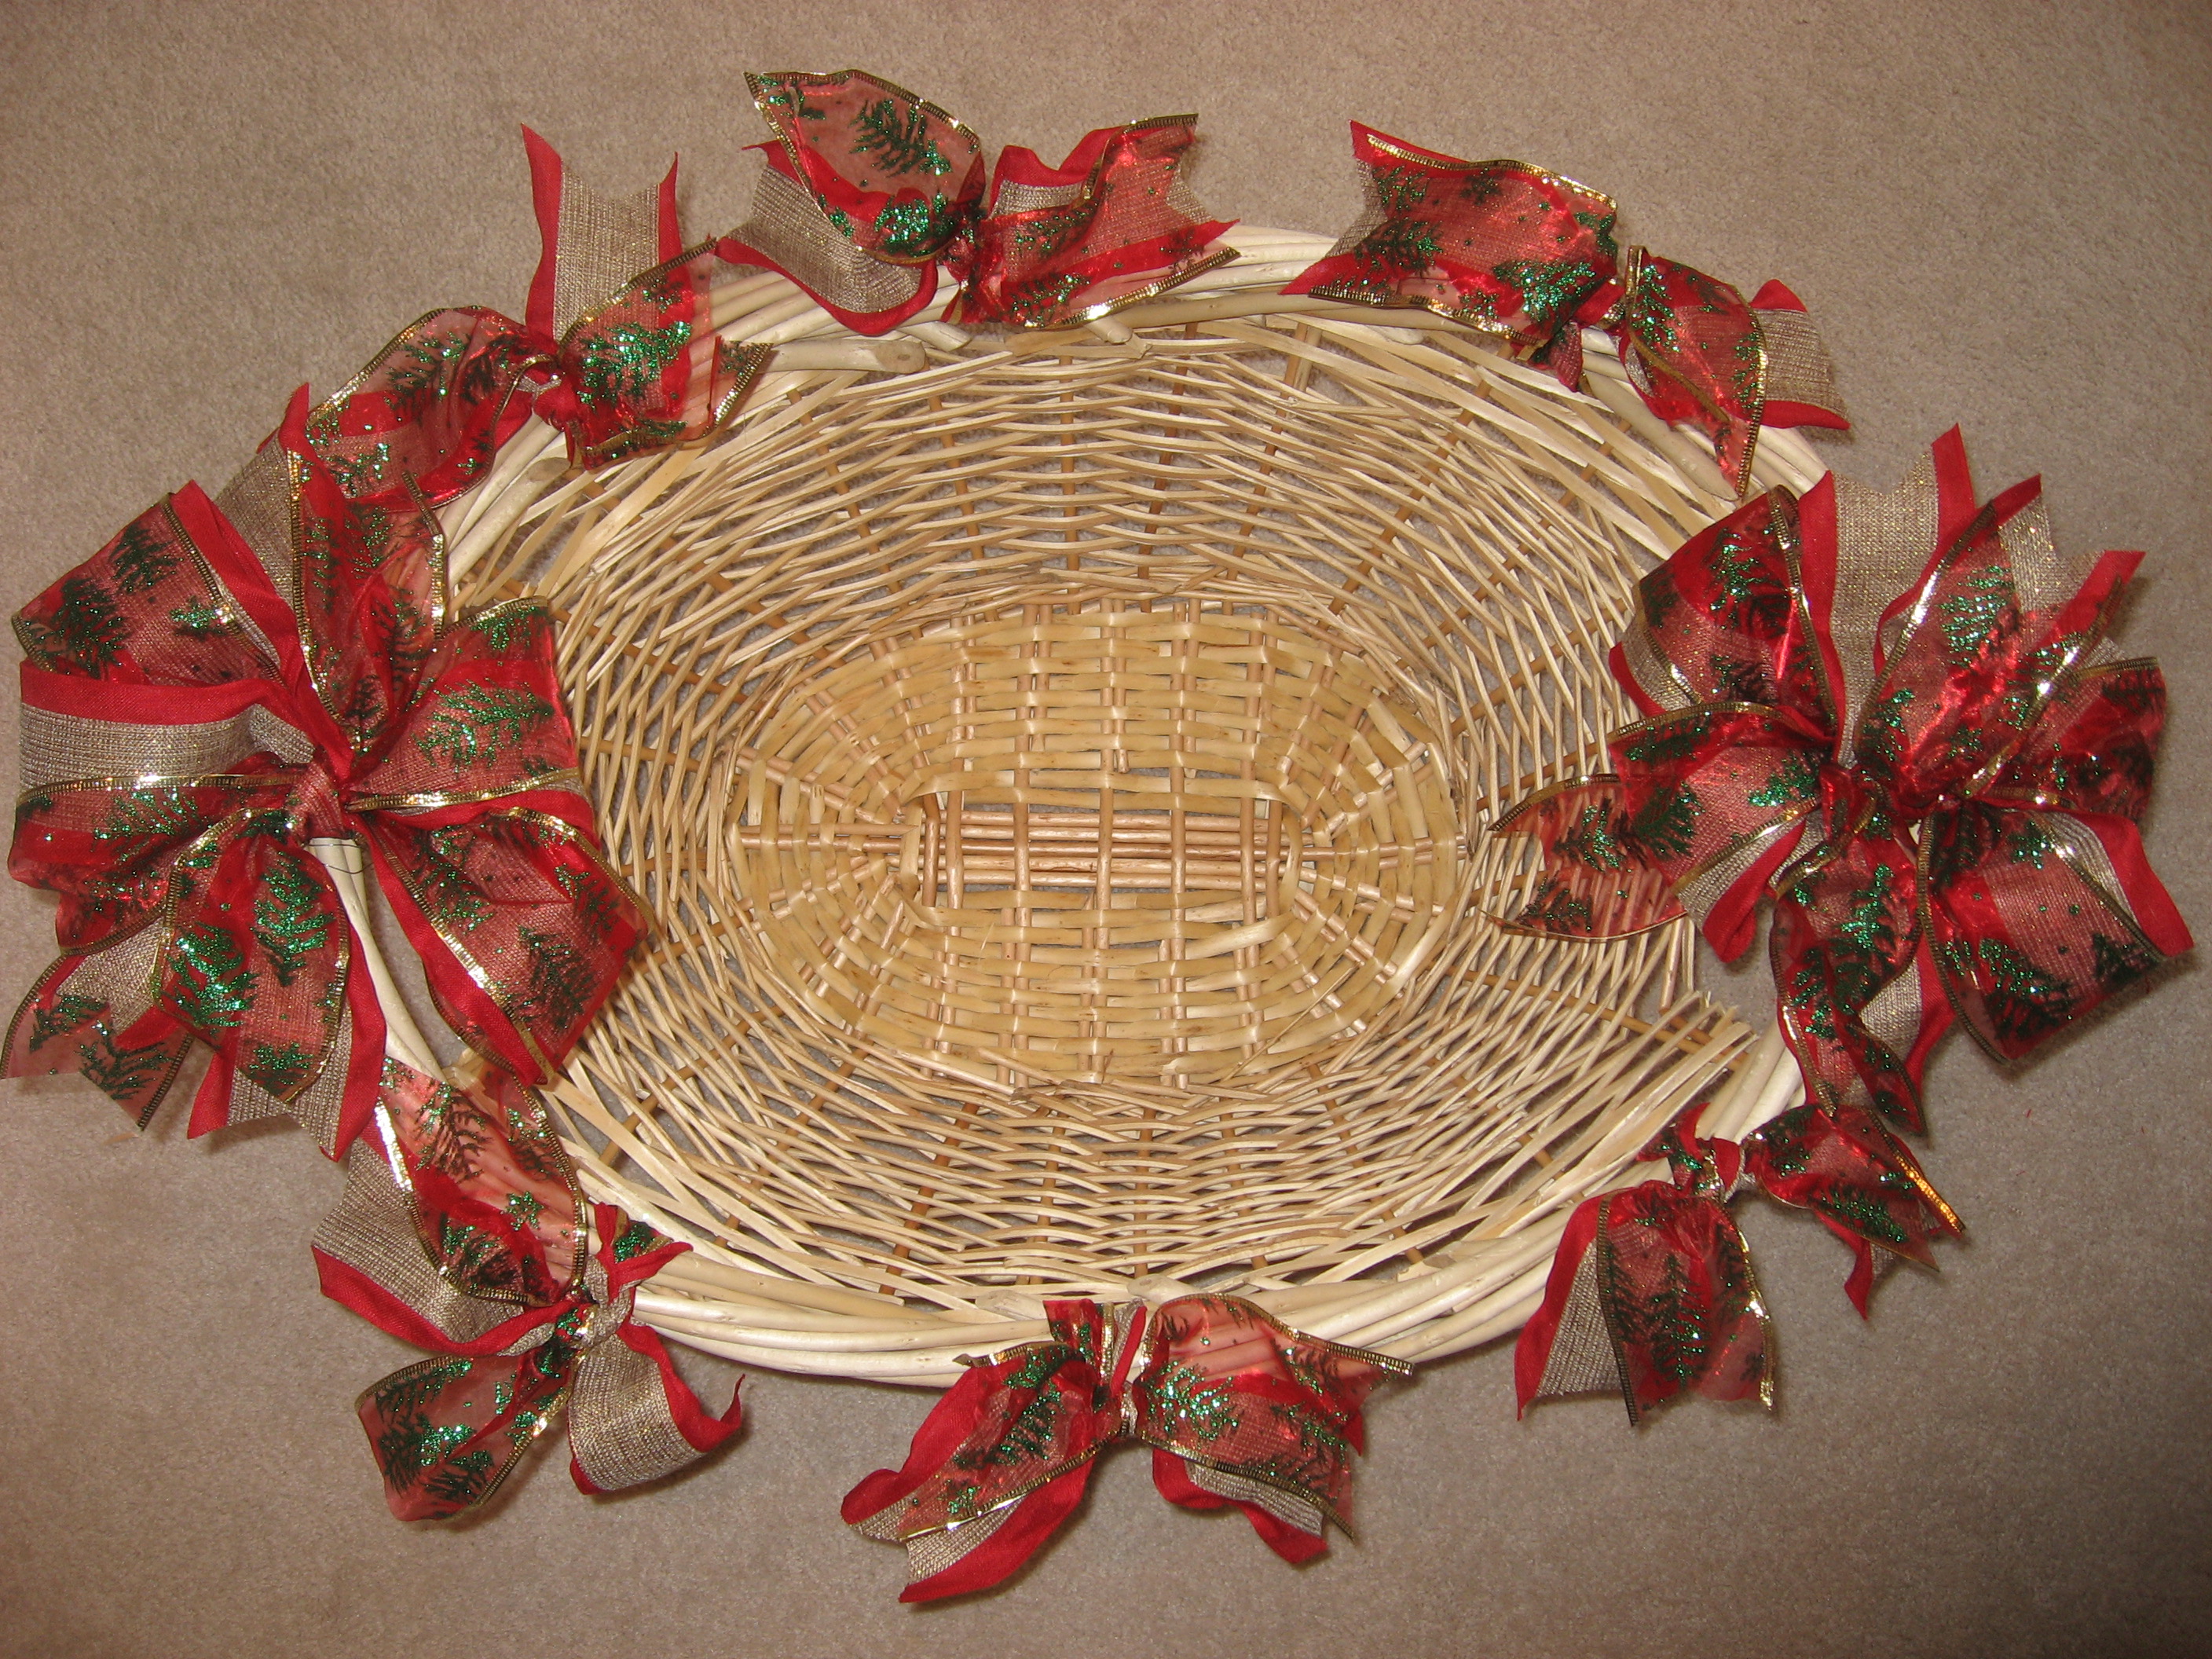
Put both ribbons together and feed the ends through

an opening in the weave of the basket rim, not on the

handles. Next, tie ribbons into a knot and trim the ends

into a “v” finish. Manipulate the ribbons into shape.

Repeat the process a few inches away from the tied

ribbon. Continue tying ribbon knots until you are satisfied

with the look.


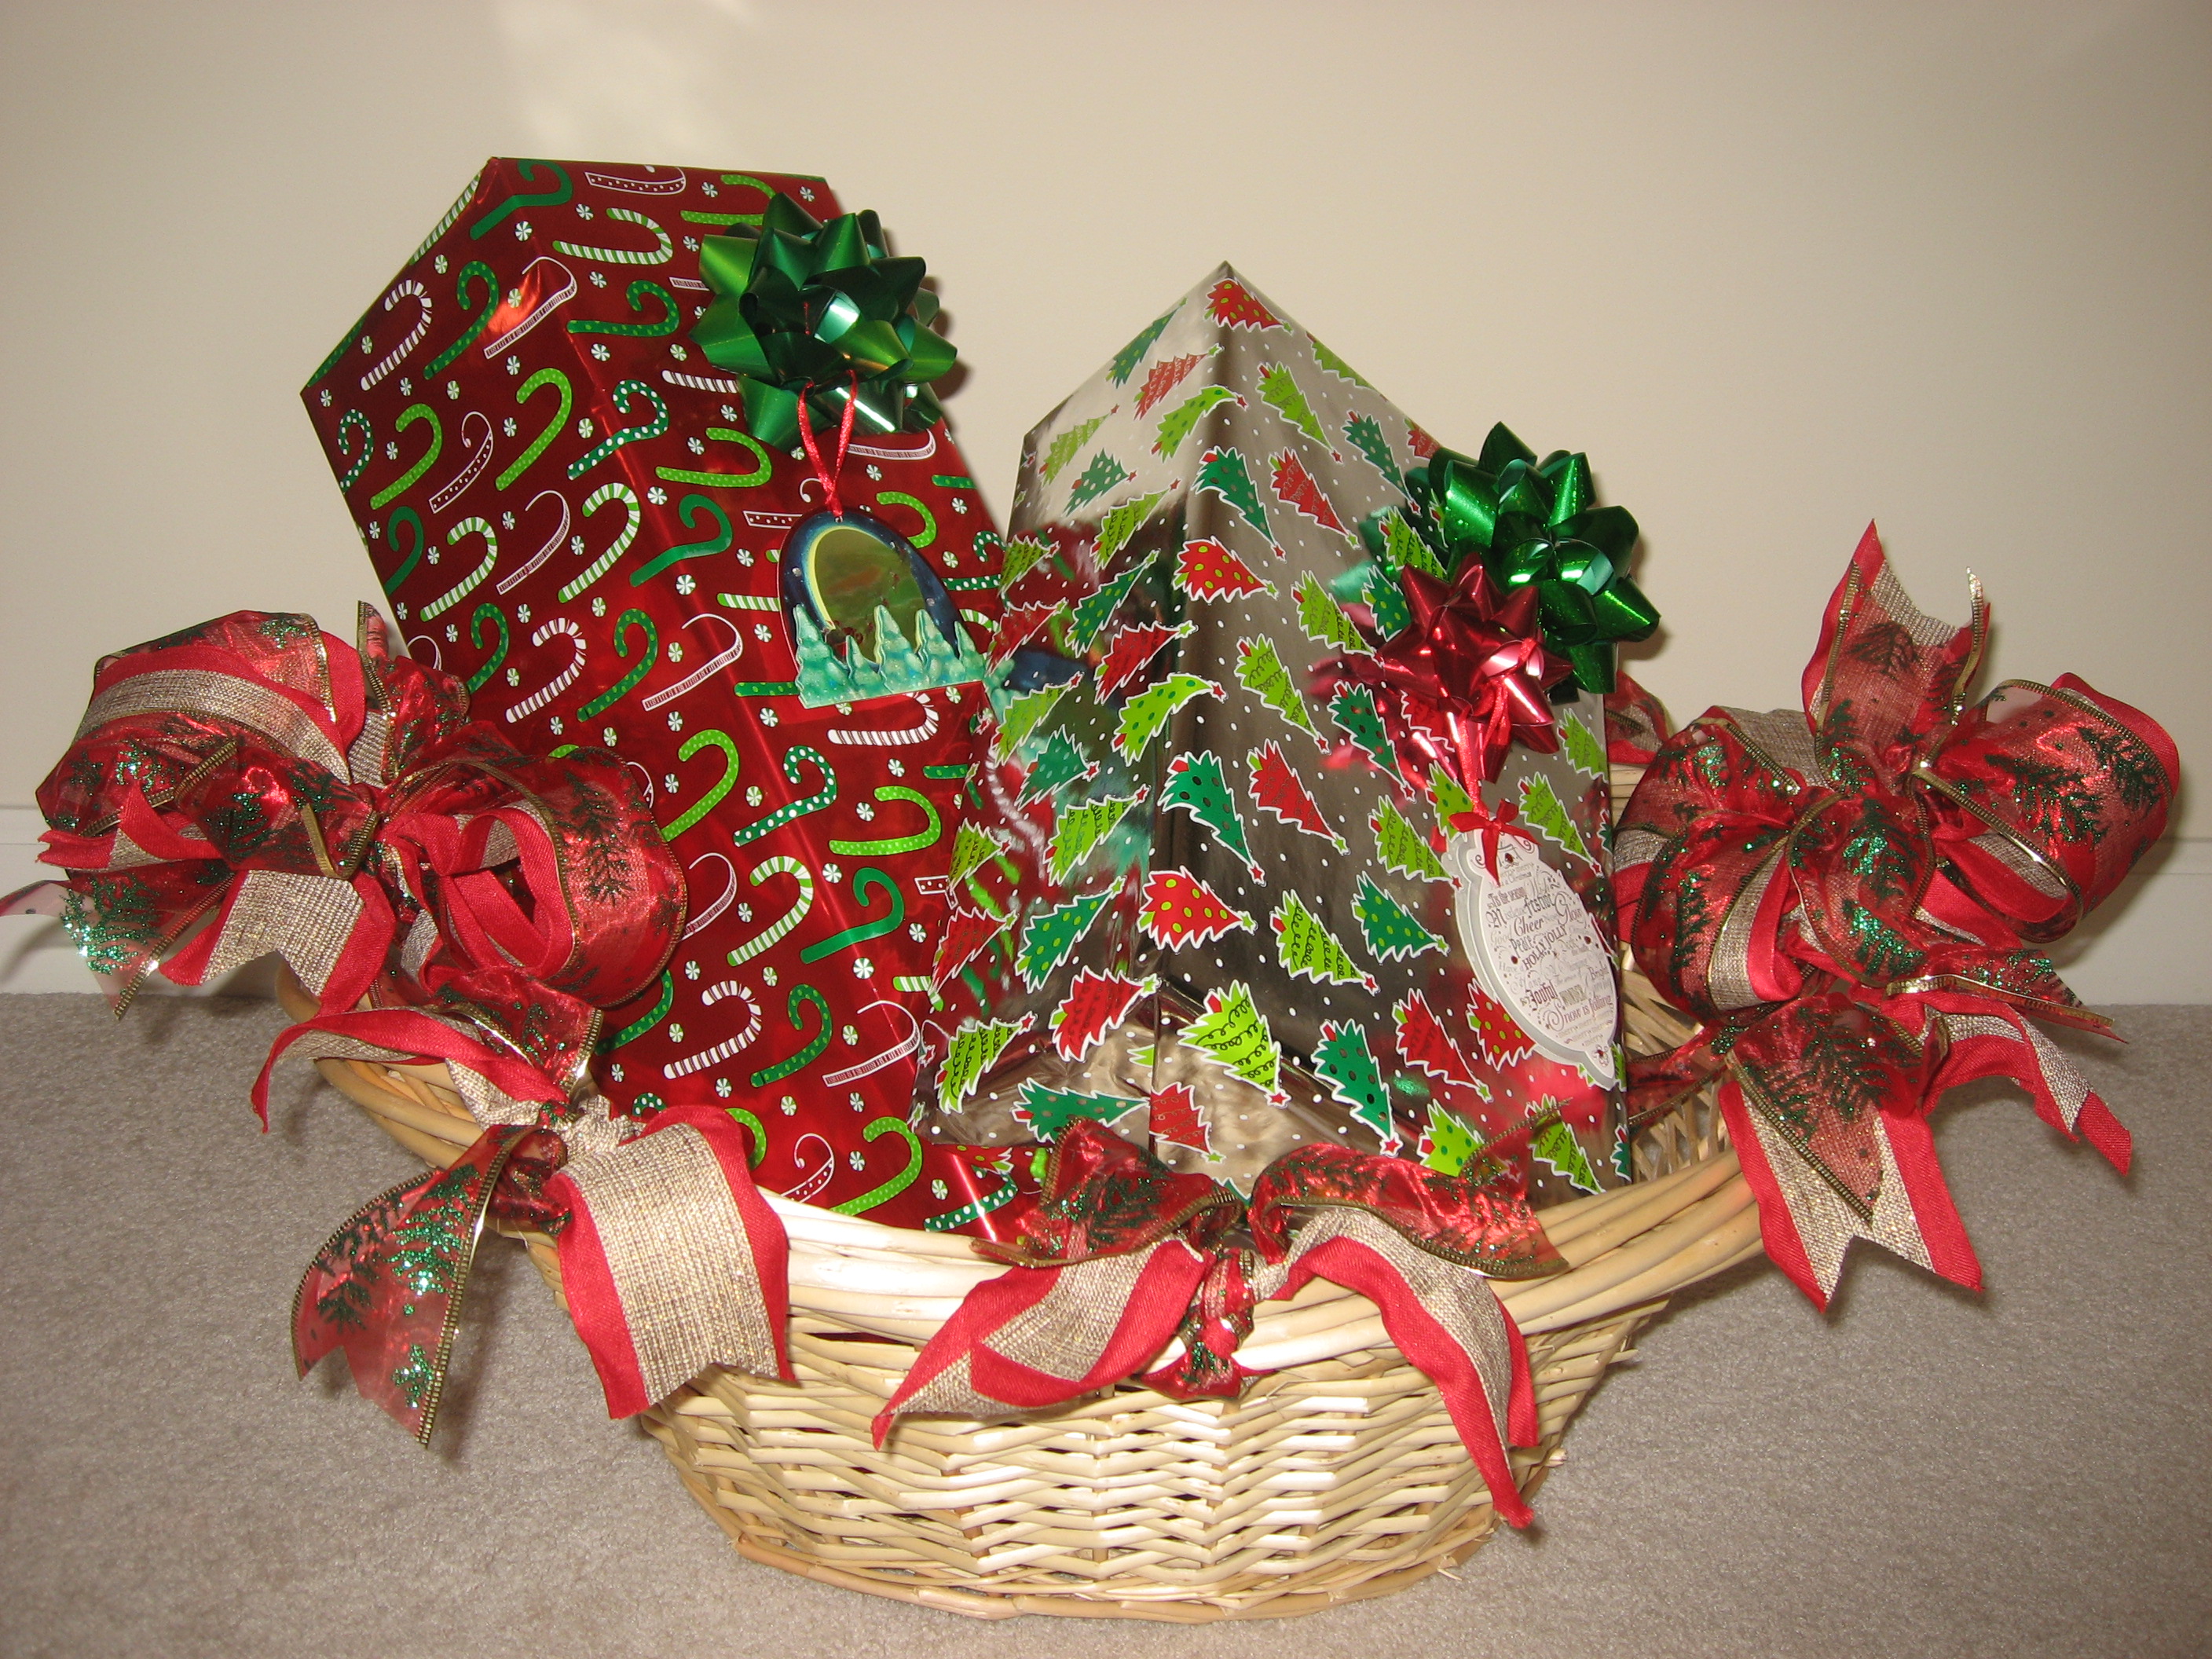
Making bows for basket handles:

Cut 30″ of both ribbons and put together; create

6″ loops. You should end up with 4 loops. At the

second time around, use wired ribbon to hold

loops in place. If there is additional ribbon left

over once you have 4 loops, then trim ends 

in a “v”. Cut 18″ of both ribbons;

tie into a knot in the center of the formed loops.

Manipulate wired ribbon loops into bow shape.

Wire bow to basket handle with floral wire;

repeat for remaining handle.

IMG_9734

Fill with holiday cheer!

IMG_9737

Thanksgiving Basket View

photo 4


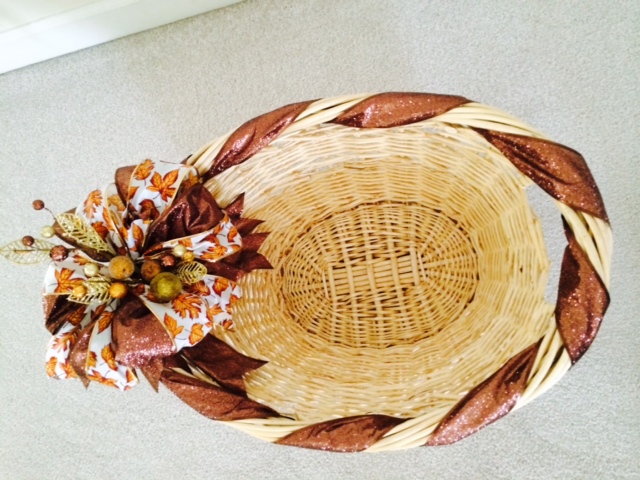
Wrap solid ribbon along rim.

Make a bow using previous directions.

Take the look a little further by

adding a fun holiday decoration to

the bow and secure with floral wire!

Fall is my favorite time of year. I love the changing season and all the beautiful colors that come with it. I admit, aside from leaves changing color, pumpkins, hot apple cider and hay rides, Fall also means Halloween. I LOVE Halloween!

It’s enjoyable seeing trick-or-treaters all dressed up ringing our door bell on October 31!  I love carving pumpkins, decorating with hay, and gourdes and ghosts, and yes, even dressing up. Our dog even gets a costume for little candy seekers to see.

This year I threw an adult Halloween party. Something I have always wanted to do. This party was unlike the Halloween parties I threw for my girls when they were growing up. To my happy surprise everyone came in ‘creative costumes.’ They had clearly put their Halloween spirit to work!

I started planning and putting my crafty ideas to work in mid-August for a mid-October Halloween party. A lot of my inspiration came from magazines, craft stores, Pinterest … and well, my own ideas.

I hope you are inspired by an idea or two from my party when you host your own Halloween BOO night for adults!

Witches hats with tea lights, pumpkins, ornamental cabbage & flickering porch lights.

Front Porch – Floating witches hats with tea lights. Pumpkins, ornamental cabbage and flickering porch lights.

Tomb stones made with decouage, cardboard, newspaper and spray paint.

Foyer – Creepy mirror wreath, spell book, potion bottles and spiders. Cheese cloth ghost in the upper right hand corner – boo!

Mantle – Mr. Bones in a black top hat. Bought skeleton and fall leaf vines at JoAnn’s. Top hat bought at Home Goods.

Island – Skull head beverage dispenser with skull goblets. Floating witch hats with tea lights.

Dessert Table – includes chocolate haystacks, caramel apples, salted caramel apple cake.

Dark chocolate drizzled sea salt popcorn.

Floating candles and fog machine magic.


Try these creative tips for more impact on your holiday tree this year!

# 1. “Cluster” ornaments that are similar in size with floral wire and secure
onto tree branch; repeat process in a triangular pattern on the tree. I generally
use 3 or 5 ornaments.

photo 6

# 2. Amp it up for the top of the tree with a generous amount of clustered
ornaments just under the tree topper.

photo 3

photo 5

# 3. Cut festive wired ribbon into 15″ pieces. I generally use 2 contrasting
ribbons; 1 solid and 1 patterned. Wrap a small piece of floral wire around the
center of ribbons. Dovetail ends with scissors; tuck into tree and secure. Manipulate
ribbon into branches. Tuck ribbon into places that may need “festive filler.”

photo 4

# 4. As a final touch, bring in refreshing pine scent with Scentsicles. Pine scented ornaments that hang on your tree.
They can be tucked into a wreath or into decorative accents for fresh winter pine aroma. They are available at
hardware stores.

photo 2

Happy Holidays!

Do your window treatments need updating?

With all the choices and different options for window dressing,

it’s easy to get confused and frustrated with the whole process.

Before buying new panels, blinds or sheers, ask yourself the following 15 questions.

This is a good place to start, your answers will guide your decisions on how you want

a room to look and feel.

After all, window treatments make such a statement in any room!

1. Who uses the room?

2. What type of activities take place in this room?

3. What look and feel do you want to achieve – formal, casual, gathering room?

4. How much light control/privacy is needed?

5. Maintain the view or block out the sunlight?

6. Are you looking for solid curtain panels or contrast fabric curtain panels?

7. Functionality of the treatment – stationary panels or full use open/close or up/down shades?

8. Style of the treatment?

9. Board mount cornice or valances?

10. Decorative poles and finials?

11. Shades – Wood blinds, natural material, soft/fabric shades?

12. Trim on treatment – tassels, welt cord, fringe?

13. Panels or sheers?

14. Custom made or ready made?

15. Tie backs or no tie backs?

window-treatments


Spring is finally here and it’s time to dust off the patio furniture!

I was so excited to finally get cracking on beautifying our back yard for the season.

Unfortunately, I noticed my not so old metal patio furniture was looking pretty

faded from last summer. I don’t want or need to replace the furniture,

so I thought I would just spray paint it and refresh the color.

There is a little bit of time involved preparing the furniture to be painted, but once

that’s done it’s time to spray on a new finish!

Materials:

  • Newspaper
  • Damp cloth/rag
  • Blue painter’s tape
  • Spray Paint

IMG_9290


IMG_9293

The first thing I did was wipe down the furniture with a damp cloth. Then, I covered all of the fabric seating areas with newspaper, making sure to cover the back sides of the chairs as well as the front sides. I secured the newspaper in place with blue painter’s tape.


IMG_9291

Next, I put the furniture on the back yard lawn and spray painted steady, even coats of paint until the furniture looked like it was evenly painted. I have to share that I am a big fan of Rust-Oleum spray paint for projects and have used it often. So, I was thrilled to find Rust-Oleum Universal Enamels Spray Paint with a comfortable trigger grip at Loews. This spray paint not only does a great job, but it also eliminates drips and pointer finger exhaustion!


IMG_9288

Before spray paint.


IMG_9296

After spray paint.


IMG_9298

The table and chairs are ready for summer!


I recently made a decoration banner for a very special lady’s bridal shower. I was inspired by one I had seen on Pinterest. It was a simple project that I did in an afternoon. Here is the list of materials you will need to create your own.

– Craft paper

– Pencil

– Scissors

– Glue Stick

– Exacto Knife

Image 16

I started by cutting patterned paper into 5″ W x 6″ L rectangles; the size I wanted. Then, I downloaded uppercase letters and a heart shape off the internet and enlarged them to 4″ H x 4″ W.  Next, I cut out the letters  to create a template and traced them onto craft paper and cut them out. Then, I centered the letters and hearts on the rectangles and glued them in place.

Image 19

Finally, with the exacto knife I cut little slits into the upper left and right corners of the rectangles and pulled ribbon through. I repeated this with all the rectangles spelling out the banner text.

Image 18


It’s so easy to turn plain glass vases into pretty center pieces for a special occasion using craft paper.

This particular gray and yellow color scheme was made for a bridal shower.

You will need the following materials:

A few glass vases of various sizes – If you are like me, you may already have a small collection of saved vases from flower purchases. I also found a couple inexpensive vases at the dollar store.

Craft or scrap booking paper

Clear packing tape

Double sided tape

Paper cutter

Scissors

Raffia

IMG_9207

First, decide how wide you want the strips of paper that will go around the width of the vase. For this particular project, I cut 3″ wide strips of gray craft paper with a paper cutter to get a straight edge. You may need to tape 2 strips together to get the paper to wrap all the way around the vase. Secure one end of the paper to the vase with clear packing tape. Secure the other end of the paper “band” with double sided tape so that no tape ends are showing. *Paper cutter is not shown.

Image 26

Then I cut 2″ strips of yellow pattern craft paper to go on top of the gray band.

IMG_9201

For a final pop, I added a few strands of natural raffia ribbon on top of the paper bands and tied a bow.

Image 27

The only thing left to do is put fresh flowers in the vases and arrange them on the table … kitchen island … sideboard … or where ever a pretty dressed up vase is needed!


Creating a customized headboard is easier than it sounds. Once you have all the materials ready to
go it’s pretty much a “staple and glue” process.

This particular multi fabric paneled headboard was inspired from one on Pinterest.
It was made to fit over a queen sized bed. The finished size is 64″ L x 48″ H.

Materials:

– 12 – 16″x16″ good quality plywood that isn’t too thick. I bought 2 sheets of plywood at Home Depot and had the pieces cut there. (You
may have to pay a little extra for all the cuts.)
– 12 – 16″x16″ 3″ Foam
– Fabrics – 1 yard of each (we used 8 different fabrics)
– Batting (buy at craft or fabric stores)
– Staple Gun
– Scissors
– Yard stick
– Black marker
– Liquid nails (buy at the hardware store)
– 1 – 60″ x 44″ ply wood (mounting board)
– 1 French Cleat Picture Hanger

Image 11

Fabrics selected for headboard.

Image 10

Cut fabrics into 26″ x 26″ pieces and batting into 24″ x 24″ pieces. In the following order, layer 1 each of fabric, batting, foam and board.

Image 6

Then, pull up the sides in a tight and smooth fashion and staple. Fold over corners making a folded tuck for a neat edge; staple. Repeat until all squares are complete. Arrange the squares 3 rows in height by 4 squares horizontally per row the way you want them to look when hung on the wall.

Image 2

On 60″ x 44″ mounting board find the center point of board and draw a horizontal and a vertical line to use as placement guides. You will begin to attach the squares at the center line. The squares along the outer edges will hang over the mounting board by a couple inches. This keeps the mounting board hidden from side views. Once the glue is set, mount the French cleat on the back of the mounting board and wall.

Hang the awesome headboard you created on the wall and enjoy the view!

Fall is around the corner and that means back to school. A good place for great dorm room finds for your returning student
is IKEA. Super budget friendly bedding, clever storage ideas for small spaces and fun ideas for that home away from home.

IKEA Dorm Room Decor

img40

Next Page »